🚚 Free Worldwide Shipping on All Orders!Shop Now
1 / 2
Trip wire for Pico Kit
Learn electronics, coding, and sensor systems with light!
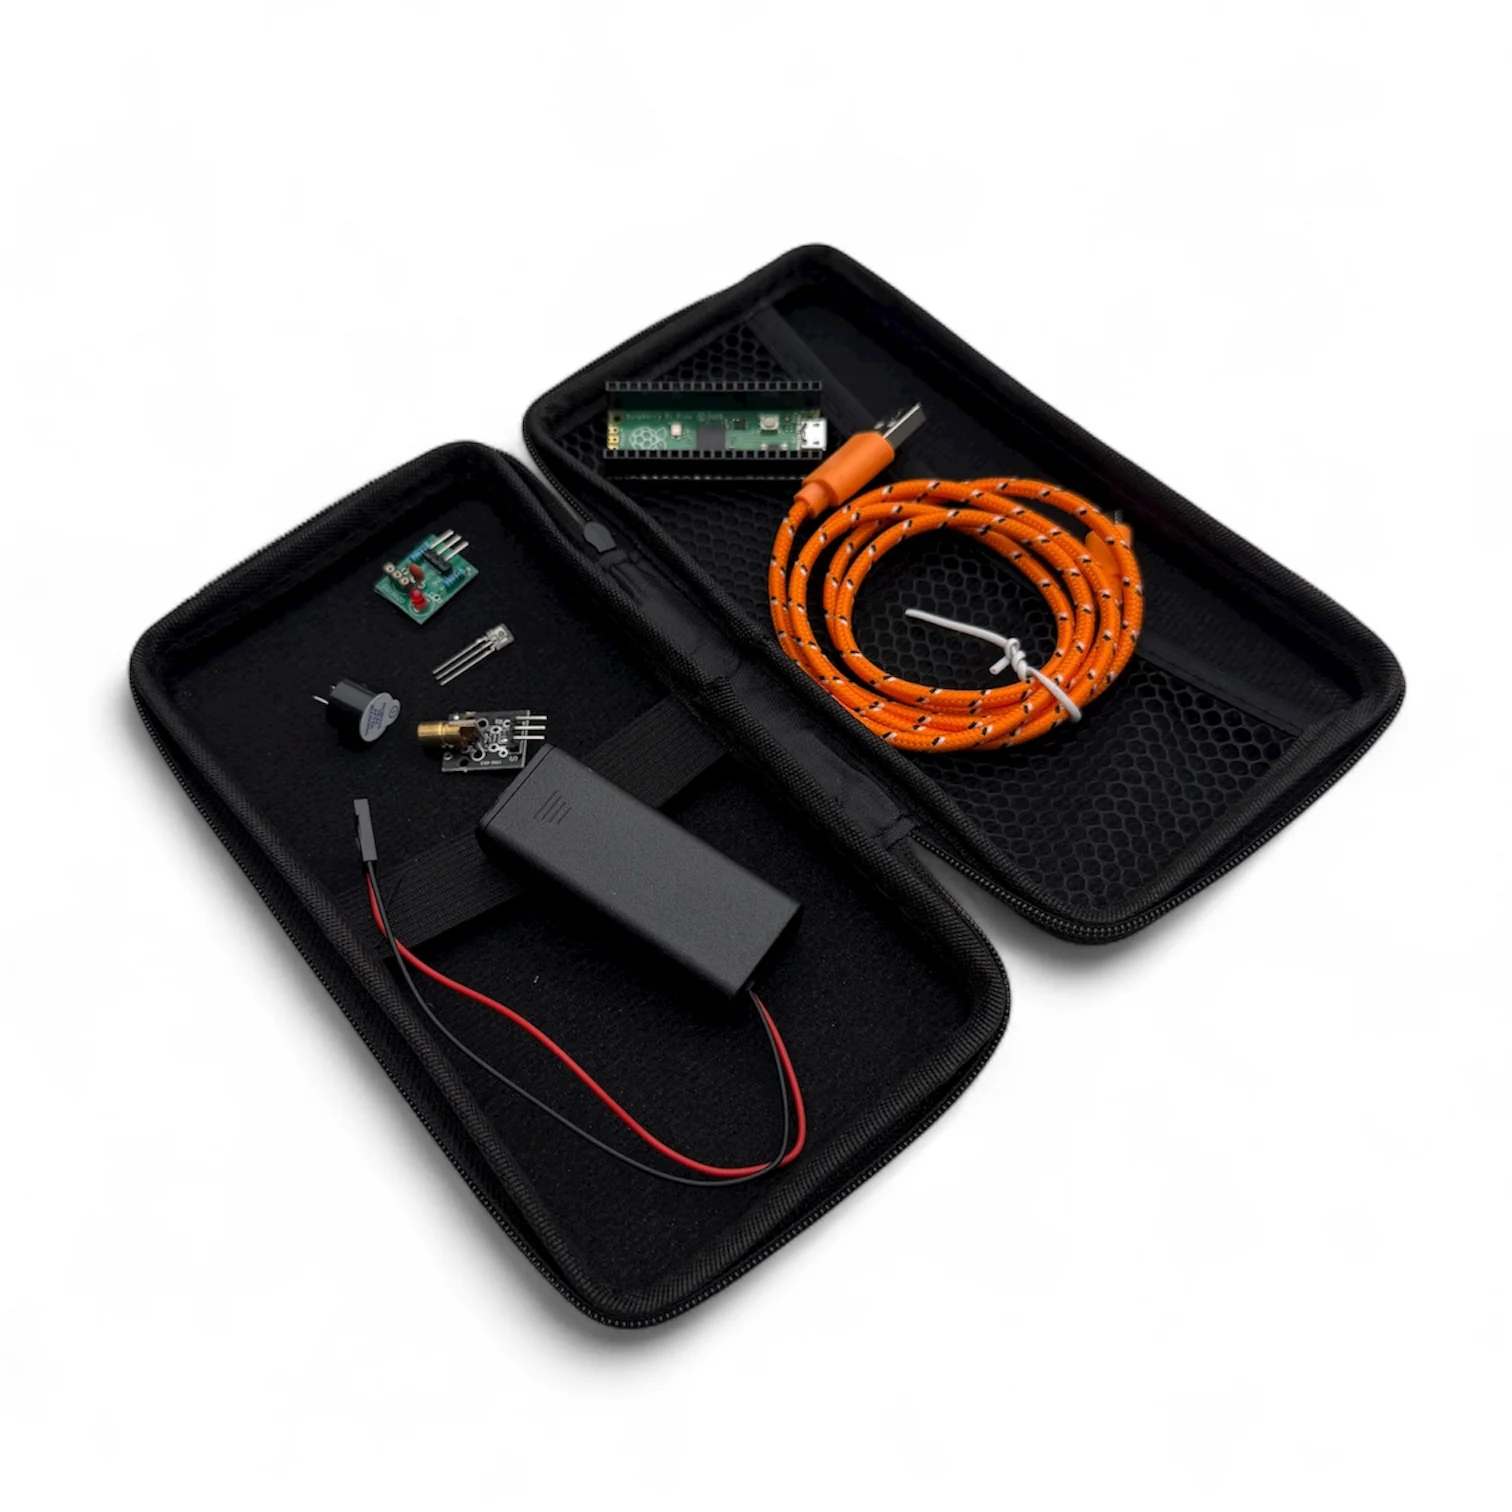
Step into the world of electronics with the Little Bird Laser Trip Wire Kit — a fun, hands-on STEM activity that brings together light, sensors, and sound. Housed in a signature Little Bird yellow case, this kit includes everything you need to build and code your own laser alarm system using a Raspberry Pi Pico.
🔧 What’s Inside
- Little Bird yellow case – portable, durable, and bright!
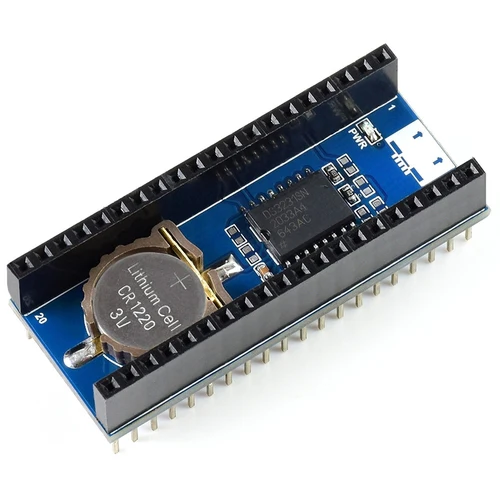
- Raspberry Pi Pico – the brains of your project
- Laser module – emits a bright 650 nm red beam
- Laser detector module – senses when the beam is broken
- Buzzer – sounds the alarm when triggered
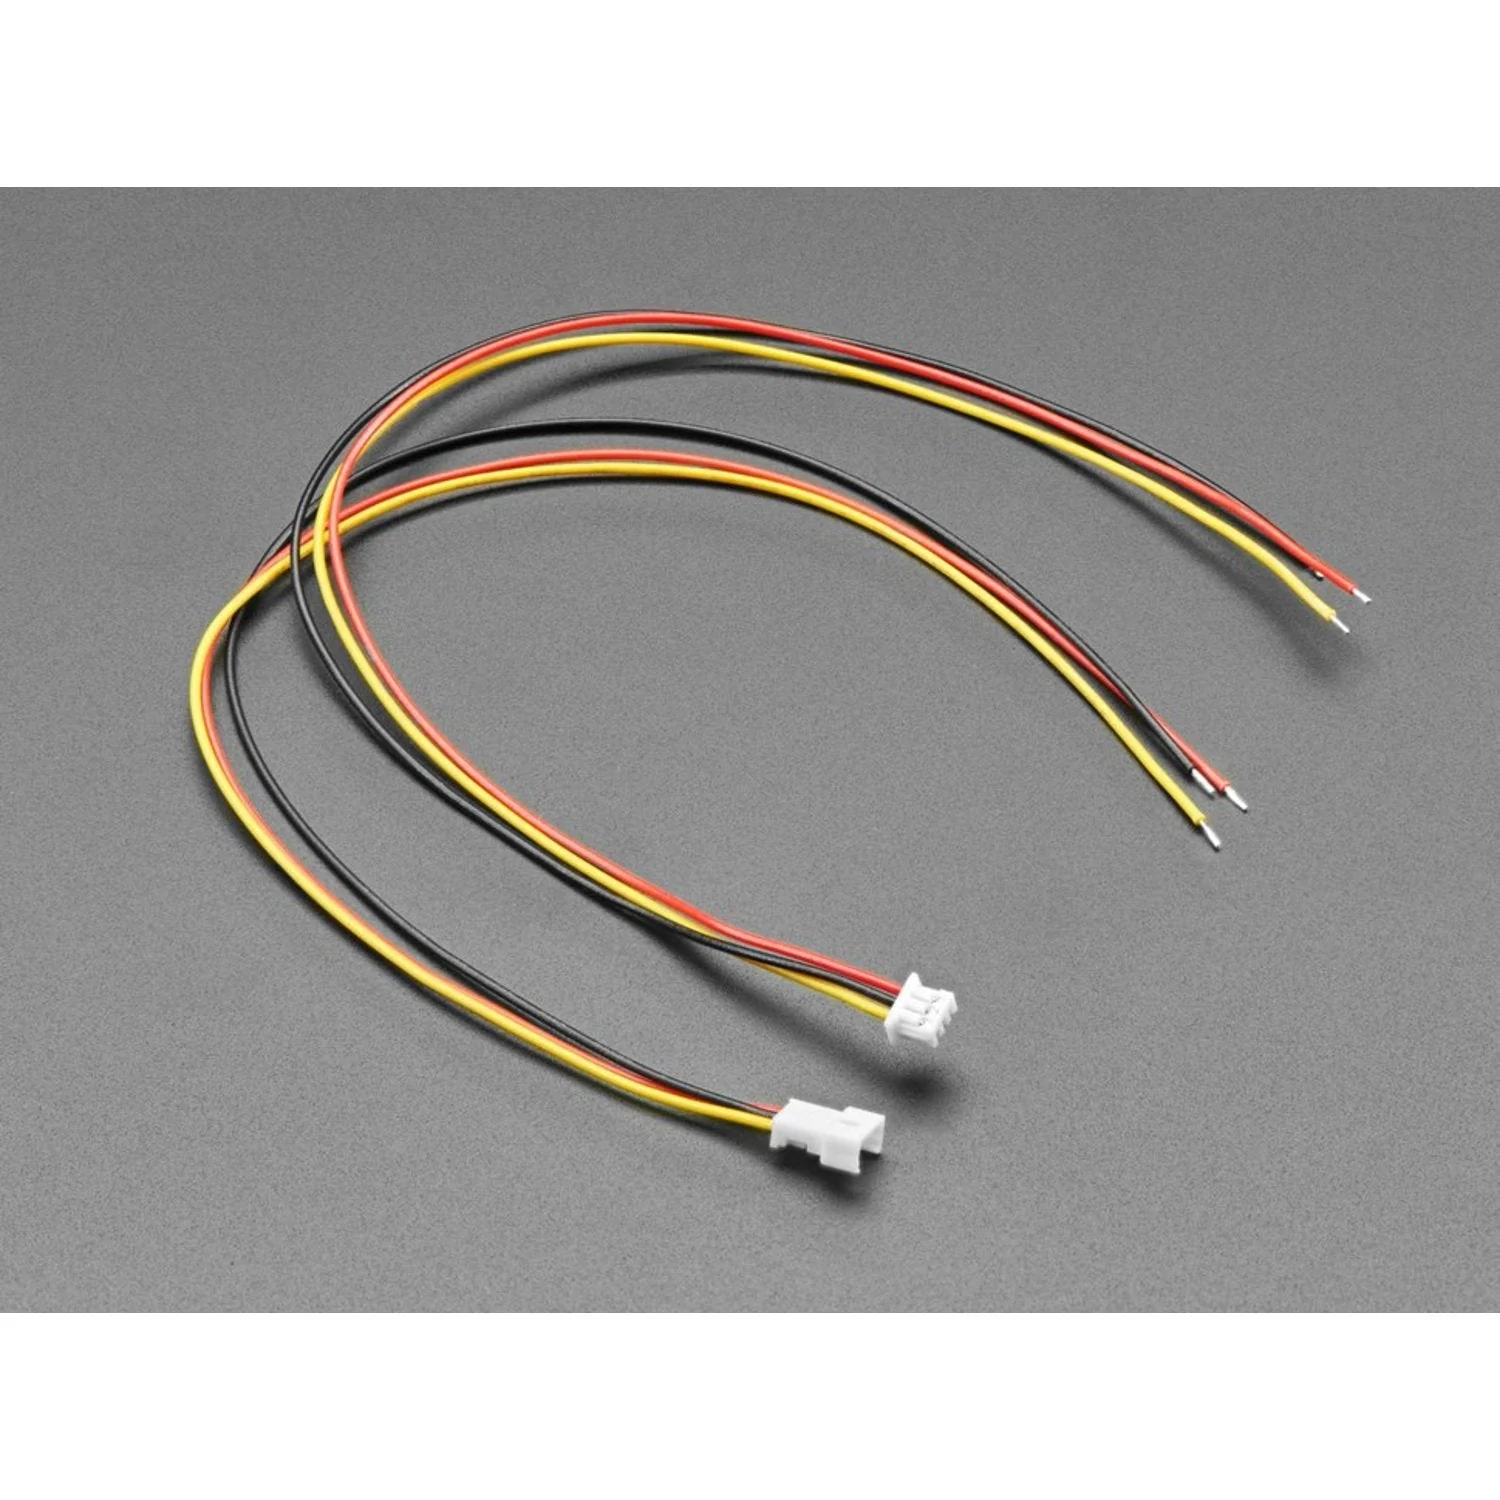
- MicroUSB cable – connect and code your Pico
- AAA battery pack – powers your circuit
All you need to add is 2 x AAA batteries and a USB power bank or computer to power your pico.
💡 What You’ll Learn
Laser Module Basics
Build a power pack, strip and crimp wires, and test your circuit safely.
Discover how laser diodes work and learn essential safety practices — never look into the beam or point it at shiny surfaces!
Laser Module Basics
Build a power pack, strip and crimp wires, and test your circuit safely.
Discover how laser diodes work and learn essential safety practices — never look into the beam or point it at shiny surfaces!
Pico Trip Wire Project (Coding + Sensors)
Combine hardware and software to make a working laser alarm.
The Pico board already has the code to run this project loaded on it - you just need to plug in the components and watch it work!
- Plug the laser detector into GP2 and the buzzer into GP19.
- Use MicroPython in Thonny to program your Pico.
- Watch your code “see” the laser beam and trigger the buzzer when the beam breaks.
- Design a 3D-printed enclosure in Tinkercad to prevent false triggers from sunlight.
Find details of the code on our blog
⚙️ Skills You’ll Build
- Circuit wiring and breadboard layout
- Safe soldering and wire crimping
- Digital input/output logic
- Coding with MicroPython
- Sensor integration and debugging
- Design thinking with 3D-printed enclosures
🧭 Perfect For
- Scouts and school STEM programs
- Beginners exploring coding and circuits
- Makers who love lasers, sensors, and sound
🛠️ Pro Tips
- Always check polarity — red = 3.3 V, black/blue = GND.
- LEDs only light one way (long leg = +).
- If something doesn’t work, check wiring before the code.
- Experiment: swap one sensor for another and watch how your program adapts!
🚨 Safety Reminder
Even low-power lasers can damage eyes.
Never point at mirrors, people, animals, or aircraft.
Handle wires and tools carefully, and always work under supervision if you’re new to electronics.
Never point at mirrors, people, animals, or aircraft.
Handle wires and tools carefully, and always work under supervision if you’re new to electronics.
$5.70
Original: $19.00
-70%Trip wire for Pico Kit—
$19.00
$5.70Product Information
Product Information
Shipping & Returns
Shipping & Returns
Description
Learn electronics, coding, and sensor systems with light!
Step into the world of electronics with the Little Bird Laser Trip Wire Kit — a fun, hands-on STEM activity that brings together light, sensors, and sound. Housed in a signature Little Bird yellow case, this kit includes everything you need to build and code your own laser alarm system using a Raspberry Pi Pico.
🔧 What’s Inside
- Little Bird yellow case – portable, durable, and bright!
- Raspberry Pi Pico – the brains of your project
- Laser module – emits a bright 650 nm red beam
- Laser detector module – senses when the beam is broken
- Buzzer – sounds the alarm when triggered
- MicroUSB cable – connect and code your Pico
- AAA battery pack – powers your circuit
All you need to add is 2 x AAA batteries and a USB power bank or computer to power your pico.
💡 What You’ll Learn
Laser Module Basics
Build a power pack, strip and crimp wires, and test your circuit safely.
Discover how laser diodes work and learn essential safety practices — never look into the beam or point it at shiny surfaces!
Laser Module Basics
Build a power pack, strip and crimp wires, and test your circuit safely.
Discover how laser diodes work and learn essential safety practices — never look into the beam or point it at shiny surfaces!
Pico Trip Wire Project (Coding + Sensors)
Combine hardware and software to make a working laser alarm.
The Pico board already has the code to run this project loaded on it - you just need to plug in the components and watch it work!
- Plug the laser detector into GP2 and the buzzer into GP19.
- Use MicroPython in Thonny to program your Pico.
- Watch your code “see” the laser beam and trigger the buzzer when the beam breaks.
- Design a 3D-printed enclosure in Tinkercad to prevent false triggers from sunlight.
Find details of the code on our blog
⚙️ Skills You’ll Build
- Circuit wiring and breadboard layout
- Safe soldering and wire crimping
- Digital input/output logic
- Coding with MicroPython
- Sensor integration and debugging
- Design thinking with 3D-printed enclosures
🧭 Perfect For
- Scouts and school STEM programs
- Beginners exploring coding and circuits
- Makers who love lasers, sensors, and sound
🛠️ Pro Tips
- Always check polarity — red = 3.3 V, black/blue = GND.
- LEDs only light one way (long leg = +).
- If something doesn’t work, check wiring before the code.
- Experiment: swap one sensor for another and watch how your program adapts!
🚨 Safety Reminder
Even low-power lasers can damage eyes.
Never point at mirrors, people, animals, or aircraft.
Handle wires and tools carefully, and always work under supervision if you’re new to electronics.
Never point at mirrors, people, animals, or aircraft.
Handle wires and tools carefully, and always work under supervision if you’re new to electronics.